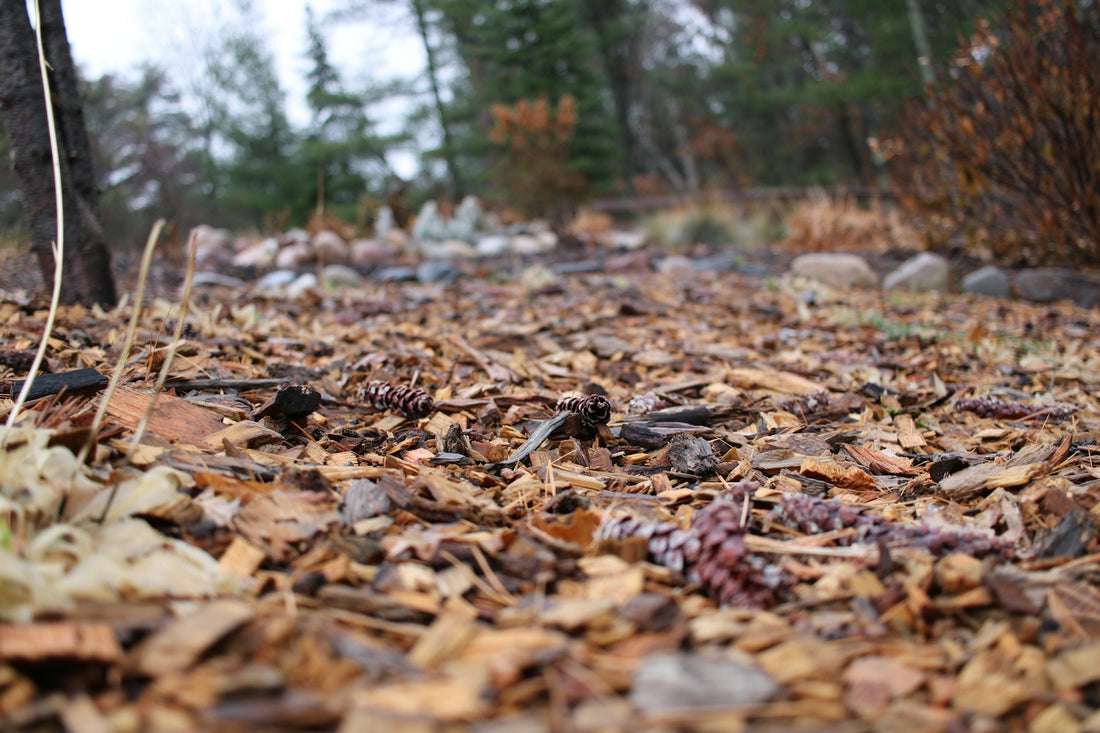
Mulching is one of the simplest yet most effective practices you can implement to promote the health and growth of your trees. It provides numerous benefits, from improving soil quality to protecting tree roots and enhancing the appearance of your landscape. In this blog post, we’ll explore why mulching matters and provide a step-by-step guide on how to properly mulch around your trees.
The Benefits of Mulching
1. Moisture Retention
Mulch helps retain soil moisture by reducing evaporation. This is particularly beneficial during hot and dry periods, ensuring your trees have a consistent supply of water.
2. Temperature Regulation
Mulch acts as an insulating layer, keeping the soil cooler in the summer and warmer in the winter. This temperature regulation helps protect tree roots from extreme weather conditions.
3. Weed Suppression
A layer of mulch inhibits weed growth by blocking sunlight from reaching weed seeds. This reduces competition for water and nutrients, allowing your trees to thrive.
4. Soil Improvement
Organic mulches decompose over time, adding valuable nutrients to the soil and improving its structure. This enhances soil aeration and water infiltration, promoting healthier root systems.
5. Erosion Control
Mulch helps prevent soil erosion by reducing the impact of rainwater and wind. It stabilizes the soil around the tree, protecting roots and preventing nutrient loss.
6. Enhanced Aesthetic Appeal
A well-mulched tree bed looks neat and attractive, adding to the overall beauty of your landscape. Mulch can also be used to create defined borders and pathways.
How to Properly Mulch Around Your Trees
1. Choose the Right Mulch
- Organic Mulch: Options include wood chips, bark, pine needles, and compost. Organic mulch is preferred because it decomposes and improves soil health over time.
- Inorganic Mulch: Gravel, stone, and rubber mulch do not decompose but can be used in areas where soil improvement is not a primary concern.
2. Prepare the Area
- Remove Weeds and Grass: Clear the area around the base of the tree, removing any weeds, grass, or debris. This prevents competition for water and nutrients.
- Create a Mulch Bed: Ideally, the mulch bed should extend to the tree’s drip line (the outermost edge of the tree’s canopy) to cover the entire root zone.
3. Apply the Mulch
- Depth: Spread the mulch evenly to a depth of 2 to 4 inches. Too much mulch can suffocate roots and promote fungal growth, while too little may not provide the desired benefits.
- Avoid the Trunk: Keep mulch away from the trunk of the tree. Create a mulch-free area about 1 to 2 inches from the trunk to prevent moisture buildup and rot. This area is often referred to as the “mulch donut” or “mulch ring.”
4. Maintain the Mulch
- Replenish Regularly: Organic mulch breaks down over time, so it’s important to replenish it annually or as needed to maintain the proper depth.
- Monitor and Adjust: Periodically check the mulch layer to ensure it remains at the correct depth and adjust as necessary. Remove any mulch that has piled up against the trunk.
5. Avoid Common Mistakes
- Mulch Volcanoes: Avoid piling mulch against the tree trunk in a cone-shaped mound. This practice, known as “volcano mulching,” can lead to rot, pest infestations, and other problems.
- Over-Mulching: Applying too thick a layer of mulch can create a barrier to water and air, suffocating the tree roots. Stick to the recommended depth of 2 to 4 inches.
Conclusion
Mulching is a vital practice for maintaining healthy and beautiful trees. By choosing the right mulch, applying it correctly, and maintaining it regularly, you can enjoy the numerous benefits that mulch provides. When you get tree work done on your property, you can choose to have wood chips left on site to use for mulching.
Ready to give your trees the care they deserve? Contact Wilder’s Tree Service today for professional mulching and comprehensive tree care services. Let us help you create a thriving and attractive landscape!

